
New to Cordless Drills? We’ll Help You With the Clutch Settings.
Most people have used a cordless drill at some point, but you may have yet to master the basics. For a beginner, the clutch settings on your drill may seem complex, but they’re really quite simple when you know what you’re looking at.
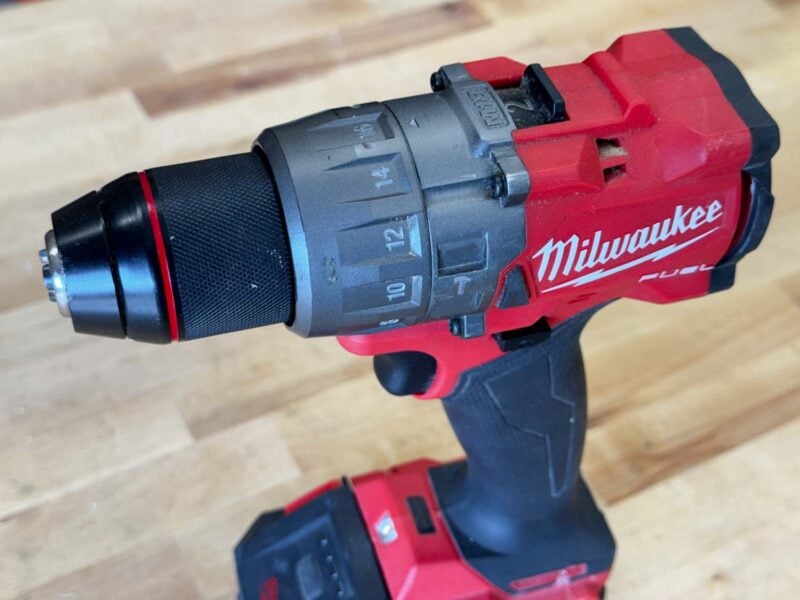
If you’ve been puzzled by those numbers on the collar of your drill, we’re here to help! Let’s take a look at the significance of your drill’s clutch and how you can use it to your advantage on your next project.
Read
How to Use a Drill: A Comprehensive Beginner’s Guide
What the Clutch Does and How it Works
Torque and speed are the two basic ways to rate a drill’s power. Most people understand the speed portion, which measures how fast the drill rotates the bit. A drill’s torque (driving force) is the amount of rotational muscle it can apply, and allows the bit to keep driving against the stopping force of friction.
Read
Speed vs Torque in Drills and Impact Drivers
When you use drilling mode and pull the trigger, the drill applies all of its available torque to your fastener. When you switch to driving mode, the clutch engages, and the setting you choose determines how much torque transfers through the bit.
You may be familiar with how a clutch works on a car—it engages or disengages the drivetrain so you can shift gears. A drill’s clutch carries the same name, but it works in a different fashion.
When you use the lowest clutch setting, the two main pieces of the clutch mechanism are lightly engaged and not very difficult to trip. You can easily hold the chuck in one hand to see how little pressure it takes.
As you increase the torque setting, those two pieces push in further and create a stronger engagement that’s harder to overcome.
When the motor provides enough torque, and the bit encounters enough resistance, the mechanism slips and “clutches out” to prevent the drill from delivering more torque.
It can be a little disconcerting when that happens. It sounds very similar to stripped gears, and you feel a gritty vibration. Not to worry, though, that’s exactly how it’s supposed to sound and feel when you’ve hit that setting’s torque limit.
When to Use Your Drill’s Clutch
The primary use of a drill’s clutch is to control the depth of the fastener you’re driving. Not all jobs require the highest possible torque, and in fact, higher torque in some applications can damage your workpiece or fasteners.
In light-duty work, you’ll want to start with low clutch settings so the screw doesn’t drive too deep and ruin your material. Here are some examples:
- Working with soft wood, like pine, spruce, or fir
- Working with very small or decorative screws
- Installing cabinet doors
- Assembling plastic components
As the material you work with is tougher and your screws are larger, you need to increase to higher clutch settings to properly set them flush or slightly sink them.
- Working with pressure-treated lumber
- Using medium-sized screws
- Installing drywall
- Setting self-tapping screws
- Setting smaller concrete screws (Tapcons)
- Assembling metal components
When driving screws into really tough material, the clutch serves two purposes. It still helps prevent damage to your material, such as splitting the wood. It also helps prevent damage to the screw head, called cam-out. Cam-out happens when the bit slips and rounds out either the bit or the screw head, making it difficult to drive or remove the screw.
Here are some scenarios when you might want to use a high clutch setting:
- Working with hardwoods
- Driving large screws, such as ledger screws
- Setting larger concrete screws (Tapcons)
- Connecting lumber with medium to large nuts and bolts
Pro Tip: When you’re driving screws into hardwood, it’s best to drill a pilot hole first to avoid splitting.
Some fasteners require more torque than the clutch will allow. When you run into that, put your drill in drilling mode to access all the available torque the motor can provide.
Pro Tip: Never use the clutch when you’re drilling holes. Whether it’s a twist bit (even the really small ones), spade bit, hole saw, or something else, always use drilling mode.
How to Adjust the Clutch to Drive Screws
Adjusting the clutch is very easy. Twist the collar toward the lower numbers for less torque. Twist toward the higher numbers for more.
The key is to start with a lower setting than you think you need and work your way up. Once you find the setting that sets the screw the way you want it, you’ll be able to move along much more quickly with the rest of the matching screws you’re using.
You may have to drive the first couple of screws more than once to get it right, but you’ll save yourself some frustration, and the end result will still look great!
Pro Tip: While it’s most common to have the drilling mode on the same collar as the clutch settings, some drills put them on separate collars.
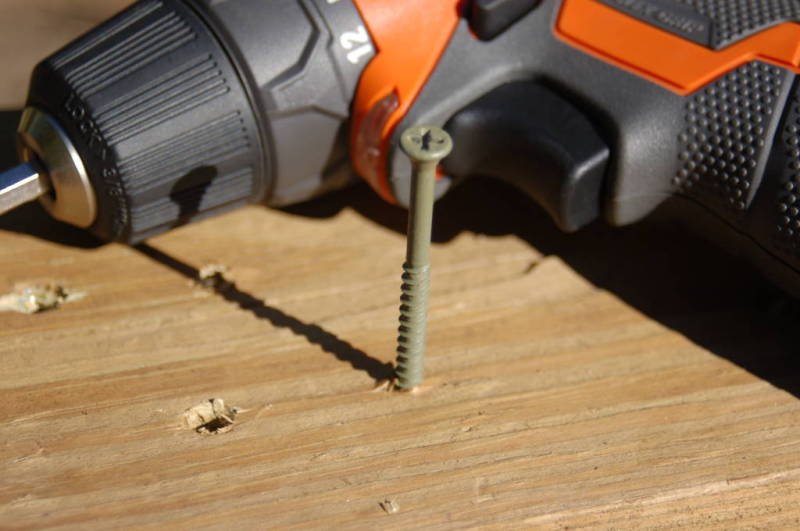
Real-World Clutch Setting Example
At a clutch setting of 1, this 2 1/2-inch #8 screw barely gets started into pressure-treated lumber.
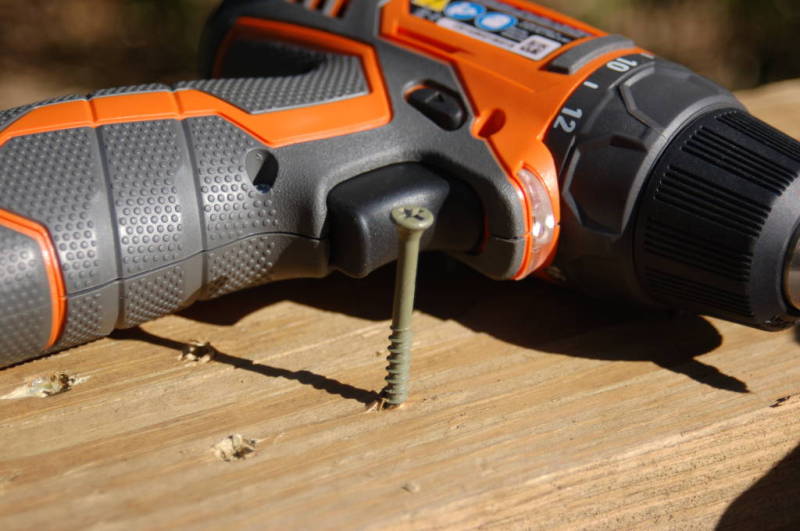
Setting 6 got it to go a little deeper.
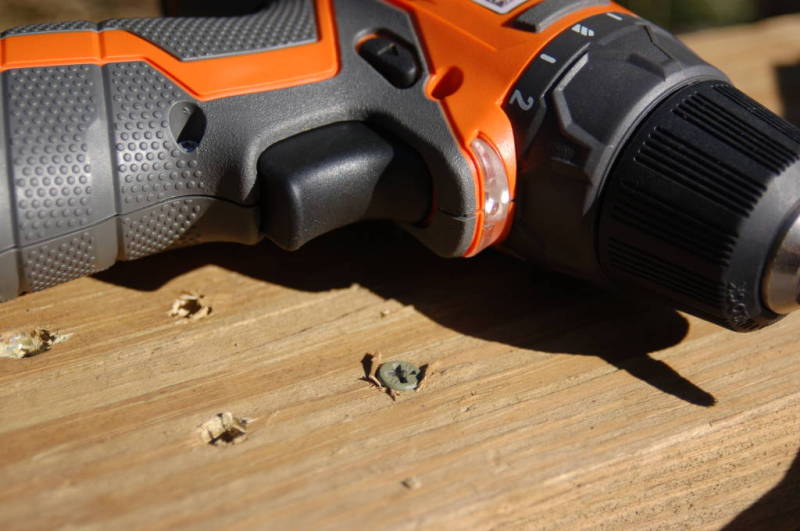
13 allowed me to drive it about flush.
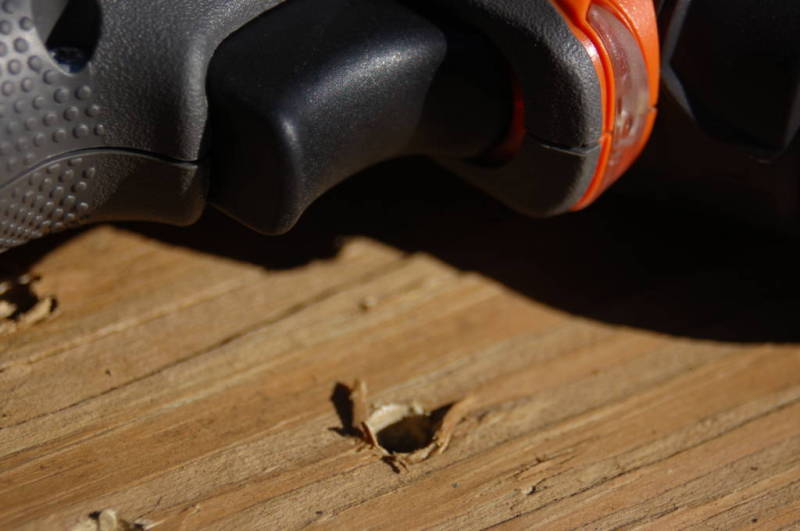
14 gave me the torque necessary to sink the screw below the surface. If I want to consistently drive the screw flush in this material, I’ll leave the clutch set on 13.
Are All Clutch Settings the Same?
No. It’s important to note that drill clutch settings aren’t standardized. If you choose setting 10 on separate DeWalt, Milwaukee, and Ryobi drills, each one will drive to a different depth. Likewise, different drills from the same brand will usually drive to different depths on the same setting.
Can You Just Feather the Trigger Instead?
Yes. Many people feather the trigger (slightly press it) as a way to adjust the torque. This is usually best when you are driving a limited number of screws or your material density varies quite a bit.
However, finding the right setting can improve your overall speed and depth consistency when the material density is relatively even.
Final Thoughts
If you’ve never adjusted your drill’s clutch settings before, it can unlock a whole new world of control. Hopefully, this short guide was helpful as you navigate the features of your cordless drill.
Leave us a comment below with any questions you have, tips and tricks you’d like to share, feedback, or subjects you’d like us to cover in the future!
