
The invention of keyless chucks was revolutionary in making cordless drills easier to use. While they’re now the dominant style, if you’re new to power tools, you might not know how to use a keyless drill chuck. If that sounds like you, we’ve got your back!
Ready to use that shiny new drill you got for Christmas? I’ll walk you through how to lock in your drill bits so you can get your next project started.
Still have questions after reading our guide? Drop a comment below, and we’ll answer it as soon as we can?
More Helpful Cordless Drill Content
- The Comprehensive Beginner’s Guide to Cordless Drills
- How to Use Drill Clutch Settings
- Impact Driver vs Drill: Key Differences and Uses
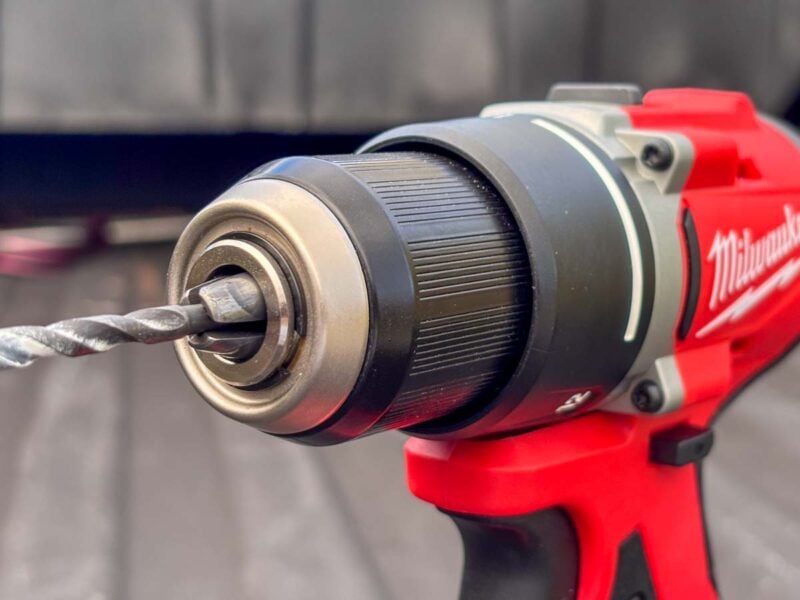
How to Use a Keyless Drill Chuck: Two Common Methods
Modern drill chucks are both keyless and ratcheting, which makes the process of installing and removing drill bits far easier than those of yesteryear.
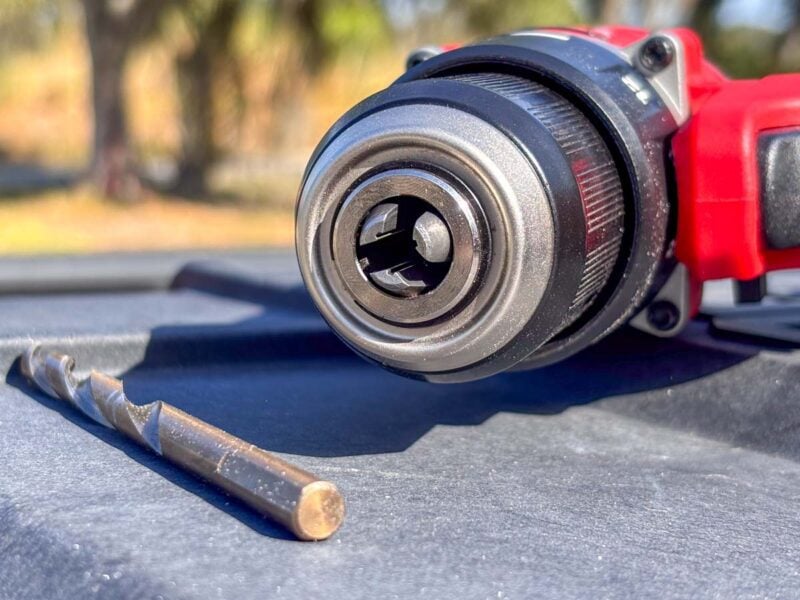
If you look inside the chuck of your drill, you’ll notice there are three teeth. These are what hold your drill bit in place. However, if they’re not holding tightly enough, your bit can slip or come out completely.
With the drill pointing away from you, if you turn the chuck clockwise, the teeth retract and loosen. If you turn it counterclockwise, they extend and tighten.
Once the the teeth meet enough resistance when they’re tightening, the ratcheting mechanism begins to engage, helping lock the teeth in place.
How to Use a Keyless Drill Chuck: Method 1
Here’s a simple step-by-step method to using a keyless drill chuck to install a bit:
- Turn the chuck clockwise to loosen the teeth until the bit can fit between them.
- Turn the chuck counterclockwise until the teeth seat against the shaft of the drill bit.
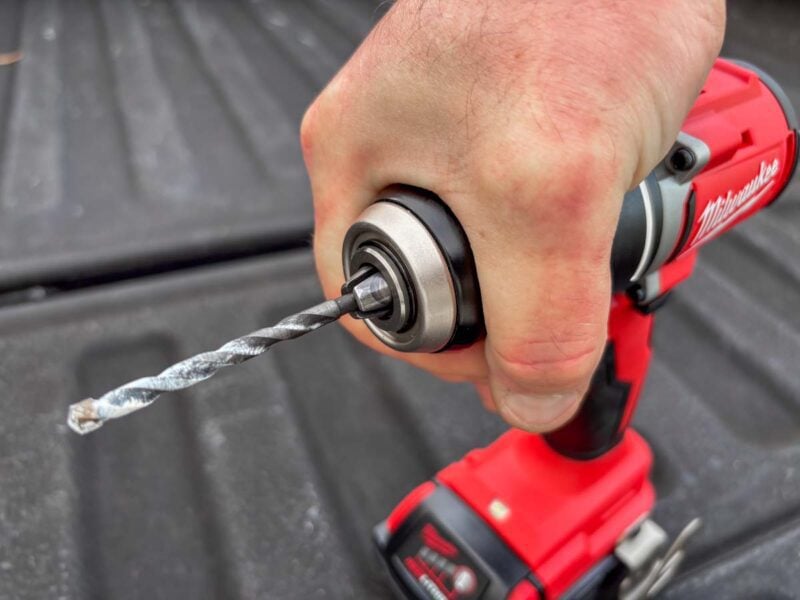
- Once you feel the ratcheting mechanism engage, continue tightening it down. 8 to 10 clicks is usually good.
To remove your drill bit, simply turn the chuck clockwise. You won’t feel the ratcheting mechanism in that direction—it just releases once you turn it hard enough.
How to Use a Keyless Drill Chuck: Method 2
The second method is typically used by people with experience. It has the advantage of being faster and also solves a key problem (which I’ll go over shortly).
- Put the drill in reverse mode.
- Hold the chuck with one hand and lightly feather the trigger until the teeth open wide enough to accept your drill bit.
- Put the drill in forward mode.
- While holding the bit between the teeth and the chuck in one hand, feather the trigger with the other until the teeth can hold the bit on their own.
- Tighten down the ratcheting mechanism by hand.
Caution: Don’t pull the trigger all the way! You want the drill to spin at low RPMs so it doesn’t get out of control or hurt your hand.
If you’ve tried the first method, you likely noticed that it can be hard to keep the bit centered while you tighten the teeth. That’s what the second method solves. Since you’re only holding the chuck in place instead of turning it, it’s much easier to keep the bit in the center.
Solving Common Problems
The Bit Won’t Stay Centered

When you’re first learning how to use a keyless drill chuck, one of the most common problems is keeping the bit in the center while you tighten the chuck. If it’s off-center, the shaft can slip between the teeth and lock in at an odd angle.
If you’re not sure, a quick trigger pull will reveal if it’s installed incorrectly. An off-center bit spins wildly at the tip. A little bit of wobble (called runout) is common, but we’re talking about a millimeter or two at the most.
One fix is to only open the teeth as wide as you have to so that the bit barely has enough room to slip in. Then, tighten it down all the way. It takes some practice, but it’s very effective.
The other fix is to use the trigger feathering technique we discussed in Method 2 above.
The Bit Keeps Falling Out
If your drill bit is slipping or falling out, the most likely reason is that the chuck isn’t tight enough. Once you feel the ratcheting mechanism engage, give it an extra-hard turn with your hand to make sure it locks down.
It’s also possible that you’re not setting the drill bit in as deeply as it should be. When you’re using driver bits (like a #2 Phillips), it’s tempting to put just a little of the bit into the teeth so it extends out further. It’s really common when you’re using 1-inch-long bits.
In most cases, it’s best to set the bit at least 1/2 an inch in so the teeth get the most effect bits on the shaft. If you’re using a short bit, grab a bit holder if you need some extra length.
Another reason might be the shape of your drill bit’s shaft. Many are perfectly round, but some have flattened sections to make them (ironically) easier for a chuck to grip, while others have a 1/4-inch hex shank design that can also fit into an impact driver. However, if the teeth settle onto the corners, they can easily slip off. Make sure they bite onto the flat sections when you tighten the chuck.
Keyed vs Keyless Drill Chucks
If we’re talking about keyless drill chucks, that kinda indicates there must be chucks with a key, right?
If you’re new to Drill Chuck History 101, you may have never used a keyed chuck. However, many of us started with drills of this design.
So, how do keyed chucks work?
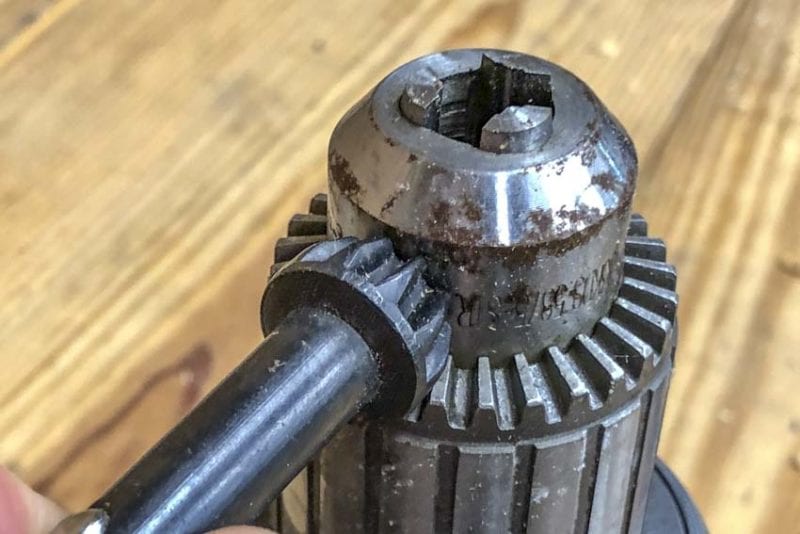
When you insert the key into a hole on the chuck, it creates a gear system that tightens or loosens as you turn it. However, if you lose the key, you’re out of luck until you get your hands on another one.
Once keyless chucks became standard, many keyed chuck users breathed a sigh of relief. The design is much easier to use since all you do is twist the chuck until it tightens down on your bit.
There are still drill chucks that use a key, though. Most of them are on specialty drills, such as mixers and right angle drills used for rough-in (Hole Hawgs).
Are Non-Ratcheting Drill Chucks a Thing?
Non-ratcheting chucks certainly exist, but these days, we find them mostly on older or entry-level tools. Cordless drills from no-name companies, or products that attempt to truly cut as many corners as possible, sometimes use non-ratcheting chucks to trim costs. You’ll also find them on keyed chucks.
There is one big problem with non-ratcheting chucks: you typically don’t get a good bite on your bit. Even if the system does a good job holding the bit initially, the action of the brake rapidly stopping the chuck causes it to loosen, potentially dropping your bit.
Keyed chucks are the exception to the rule, though, which is why they’re still in use on some drills.
If you’re in the market for a cordless drill, we recommend looking for models with a ratcheting chuck to prevent this from happening. Nearly every name-brand drill has that style, even if it doesn’t specifically mention it.

I did not see anything in the article about locking the chuck. If the bit keeps coming loose, after you get the bit tight, turn the chuck slightly clockwise to lock it so it does not spin loose while drilling, just a slight notch or click that you can feel. You don’t need to bare down on it like a brute to tighten the bit so it does not come loose after you know this trick. Try it and thank me later!
We actually covered that years ago after seeing a video from Makita’s YouTube channel (their Australian profile, if I remember correctly). We tried it, and it seemed effective, so we shared the technique. Then we received feedback from some of the product teams who make drills using those Jacobs chucks saying it’s not a locking function.
We looked for as much information as we could to see what function that back step actually serves, and to this day, we still don’t have a solid answer. I’ve seen it’s trending again, though, and if it works for you, go for it.