
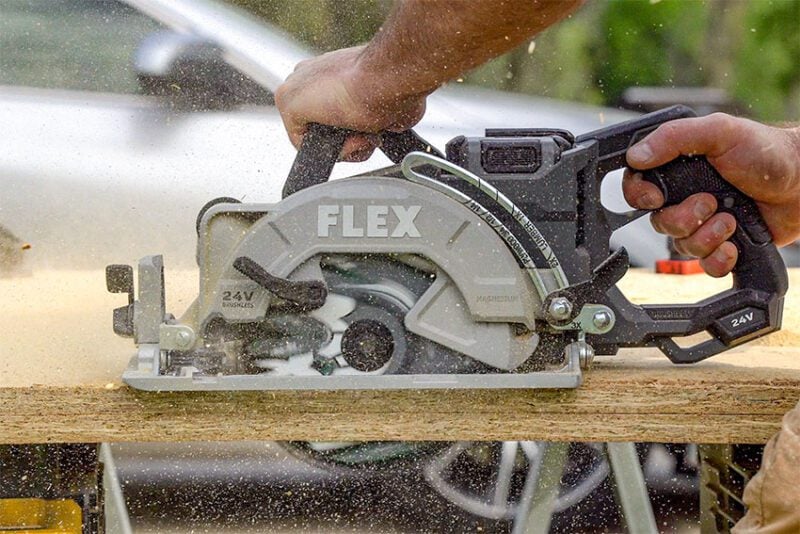
Whether you’re new to the construction industry, looking to make it as a maker, or want to do your own home repairs, it makes sense to know how to use a circular saw. The circular saw is often the tool of choice for making straight cuts in a variety of common materials, and it’s one of the most common saws people own.
Safety First!
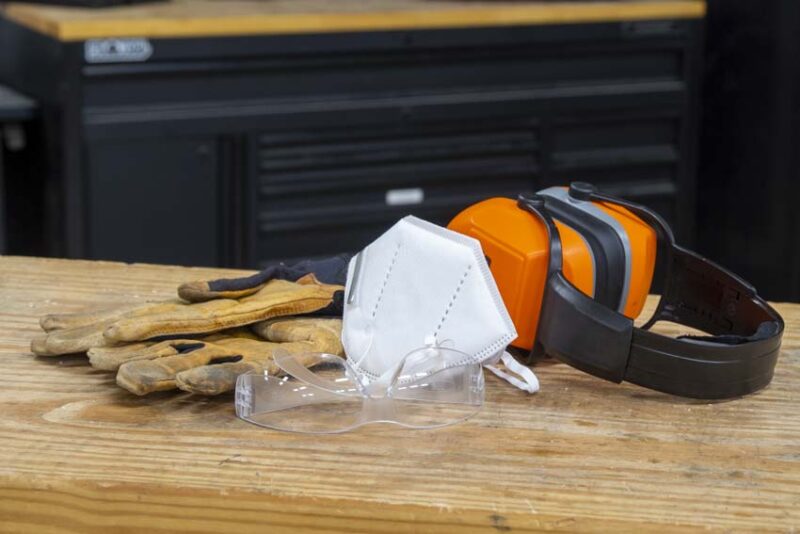
Before making any cuts, there are a few things you’ll want to address first. You won’t need to throw on the safety gear until it comes time to cut, but it’s good to have it readily accessible for when it’s “go” time.
- Safety glasses to keep dust and chips out of your eyes
- Dust mask, especially if you’re cutting cement board
- Work gloves to avoid splinters when you move the material
- Hearing protection—these saws can be loud!
How to Set Up Your Circular Cut
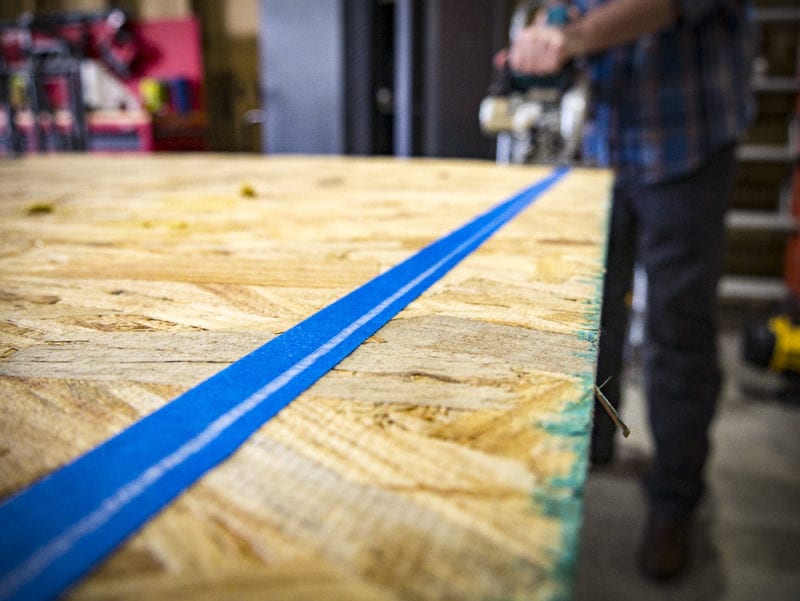
Marking Your Line

Unless you’re comfortable with “just winging it” (and for most projects, we aren’t), you’ll want to get a hold of a tape measure, a straight edge, and a pencil. Since most projects require some degree of precision, it’s best to take your time getting your measurements right. Measure twice and cut once, as they say. It will save you a lot of time and frustration in the long run.
A T-square helps for drawing quick, consistent lines at 90° to the edge of your board. For angled cuts, a speed square or rafter square can be really helpful. Once you’ve taken your measurements, use the straight edge to mark a straight, bold line.
Pro tip: When cutting material that requires a super-clean edge, try throwing some masking or painter’s tape over your cutline before you cut if you don’t have a higher tooth count blade on hand.
Get Your Material Off the Ground
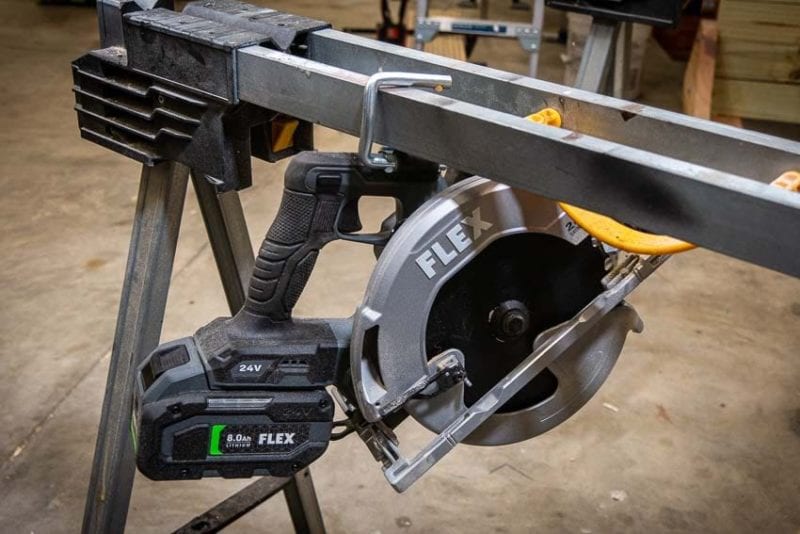
As you cut, your blade extends below the bottom surface of your work material (except in non-through cuts, such as dadoes). If your work material rests directly on top of the ground or another surface, your circular saw blade will dig into whatever is below it.
Before you make your first cut, go ahead and put your work material up on some sawhorses. Clamp the material to each side with the waste edge (the part you’re not going to use) hanging off the side.
Pro Tip: Sometimes you can’t avoid hitting what’s beneath your workpiece. When that’s the case, put a piece of scrap material under your cutline. This “sacrificial board” will get cut instead of what you’re cutting on top of.
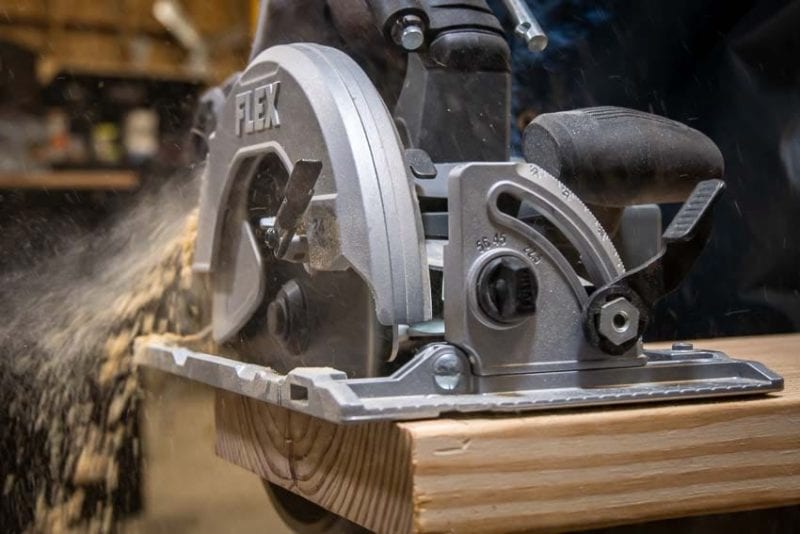
Setting Your Depth of Cut
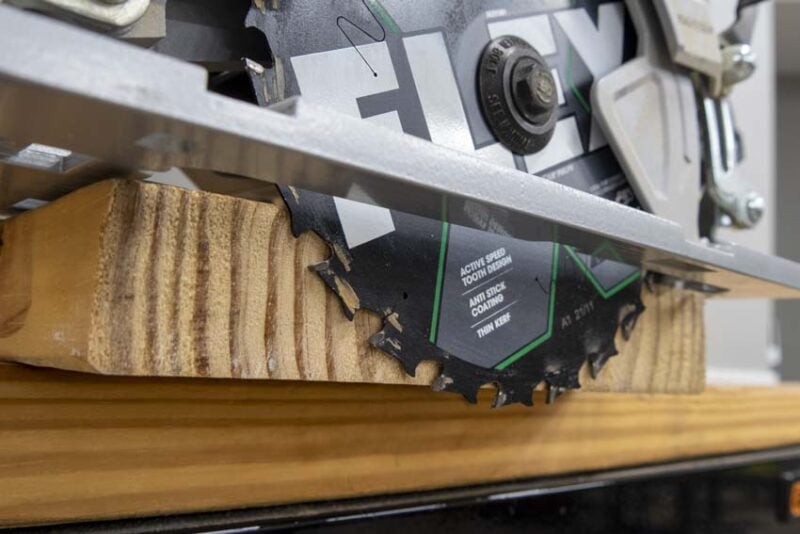
Setting the correct depth is a matter of debate. The rule of thumb is to set your blade depth between 1/4 inch and 1/2 inch below the bottom surface of your workpiece. That said, plenty of people always cut at maximum depth. Try both ways on some scrap material and see which results you prefer.
The height adjustment lock is typically toward the rear of the saw. Lift the lever up to let the saw blade tilt. You can either use the depth markings on the saw or eyeball the blade against the edge of the material before pushing the lever back down to lock the depth in place.
Adjusting for Beveled Cuts
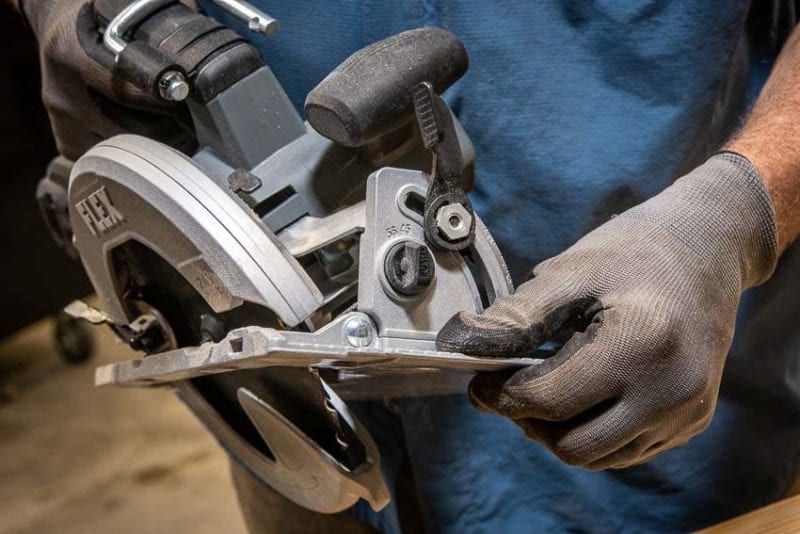
Most circular saws include an adjustable pivot that allows you to make beveled cuts across your workpiece. To make that adjustment, loosen the knob or lever on the front to unlock it. Pivot the saw to the angle you want to work with and tighten the knob or lever back down. Some saws have stops at 22.5° and/or 45° for common bevel angles.
How to Make a Cut
Line Up the Saw
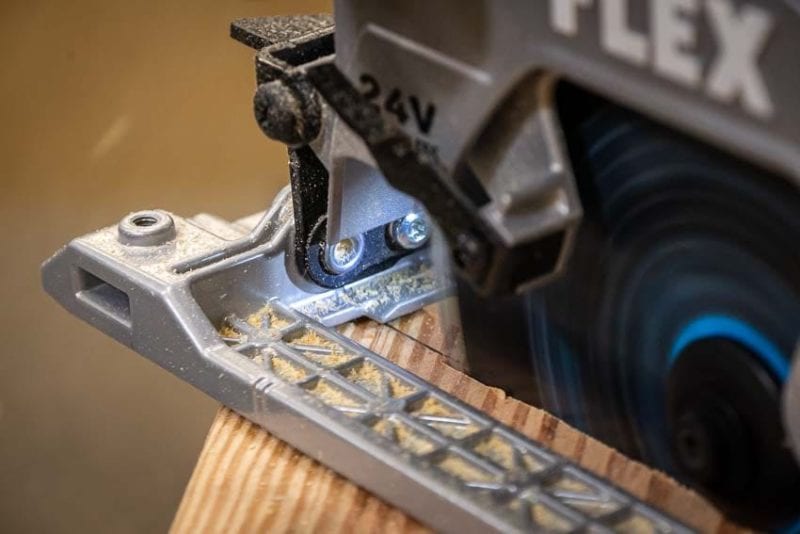
The base plate on your circular saw has notches marked “0” and “45” on it. These align with where your blade should cut at 0° and 45° bevels. Every blade is slightly different, though, so it’s best to make a cut line on a scrap piece of material and see if the blade you’re using cuts slightly left or right of the notch edge.
Alternatively, if your saw has a good sightline to the front of the blade, you can watch it instead of the notches and know exactly where it’s cutting.
Let the Saw Do the Hard Work
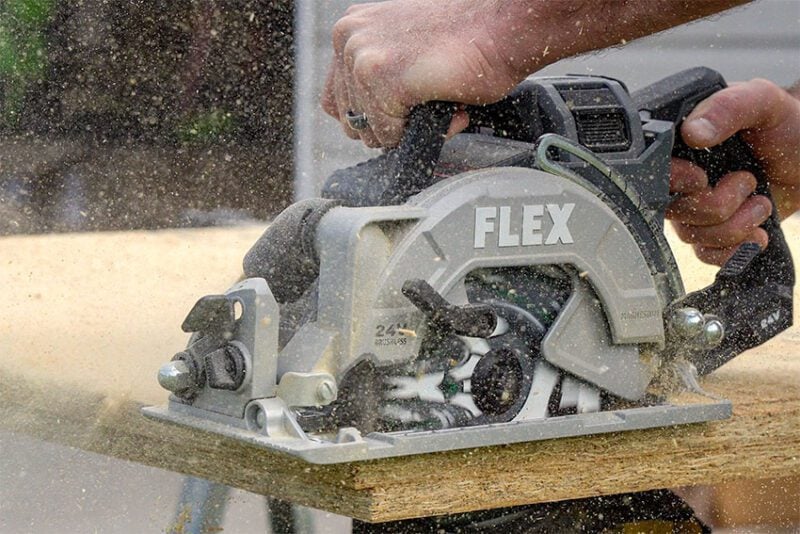
When you’re all lined up where you need to be, set the shoe of the saw on the material with the blade just behind your cut line. Disengage the trigger safety (usually by pushing in or down), pull the trigger, and let the blade come up to full speed. Then, push the circular saw through the cut smoothly and purposefully. If you hear the RPMs begin to drop, back off on your force and let the saw do the work.
As you move the circular saw forward, the blade guard retracts from the workpiece most of the time. When you finish your cut, it will spring back into place. You can manually pull the blade guard back with the tab on the side when you’re making bevel or shave cuts.
Ready to take it to the next level? Let’s go!
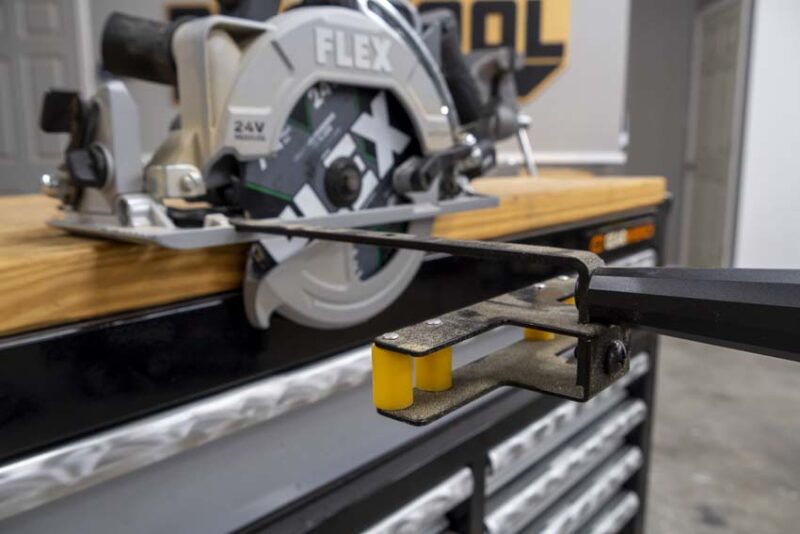
How to Use a Circular Saw to Make Cross Cuts
It’s not too hard to make a cross-cut freehand. However, you can use a circular saw to make a near-perfect cross-cut without too much trouble. You just need to add a 7-inch or 12-inch rafter square (Speed Square). Here are the basic steps:
- Accurately mark your cutline
- Line up your blade to your cut line
- Use your rafter square to guide the shoe as you cut
Getting this right is all about holding the rafter square steady and using it to guide the cut. Set the lipped side of the square against the bottom of the board and use your non-trigger hand to hold it tight against the edge. As you cut, gently push the shoe against the square.
This method also works for 45° cuts—just flip the square so you’re cutting on the angled side instead.
Pro Tip: This method works best with sidewinder-style circular saws that are easier to control with one hand.
How to Use a Circular Saw for Rip Cuts
Ripping an 8-foot sheet of plywood and holding it accurately to your cut line is a challenge. Fortunately, there are several ways to make it happen.
Use a Fence
Nearly all circular saws have notches in the shoe that hold a fence, giving you the ability to perfectly follow the edge of your material. The downside is that if your material edge is uneven, your cut will be too. Here are the steps:
- Accurately mark your cut line.
- Install the fence so the distance from the blade to the inside fence edge is the same as the distance from your cutline to the material’s edg.e
- Make your cut, pulling gently against the fence so it stays in contact with the material edge.
Most fences give you 12 inches or so of ripping length. However, there are some third-party systems that can give you much more distance.
Use a Straightedge or Level
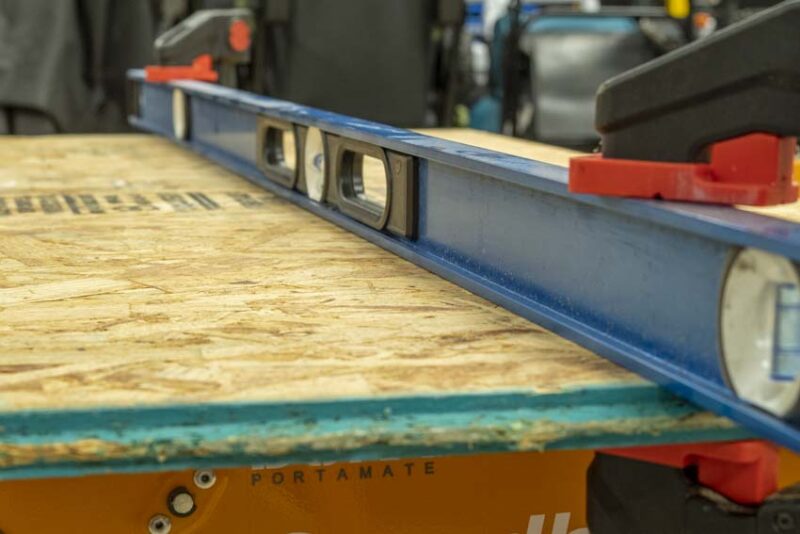
With a long enough straightedge or level, you make an accurate rip cut with a circular saw, even if the material’s edge isn’t even. It works similarly to our cross-cut tip, but you need a longer guide and clamps to secure it. Here are the steps:
- Accurately mark your cut line.
- Measure the distance from the edge of your blade to the edge of your shoe that’s going to be guided by the straightedge.
- Clamp the straightedge down the same distance from your cutline that you measured in step 2
- Make the cut, gently pushing the circular saw toward the straightedge so the shoe stays in contact during the entire cut.
Pro Tip: Every circular saw is a little different, so make sure you clamp your straightedge in a way that the motor housing won’t hit it on the way by.
Use a Track Saw
The most accurate and easiest way to make a rip cut with a circular saw is by using a track saw. The saw connects to the track, and the edge goes right over your cutline, so it’s a more straightforward setup with even less risk of pulling away from the guide. Follow these steps.
- Accurately mark your cut line.
- Clamp your track so the edge lies perfectly along your cut line.
- Attach your circular saw.
- Make your cut, allowing the saw to glide gently over the track.
What are some of your favorite tips on how to use a circular saw? Feel free to add them to the comments section below!
