
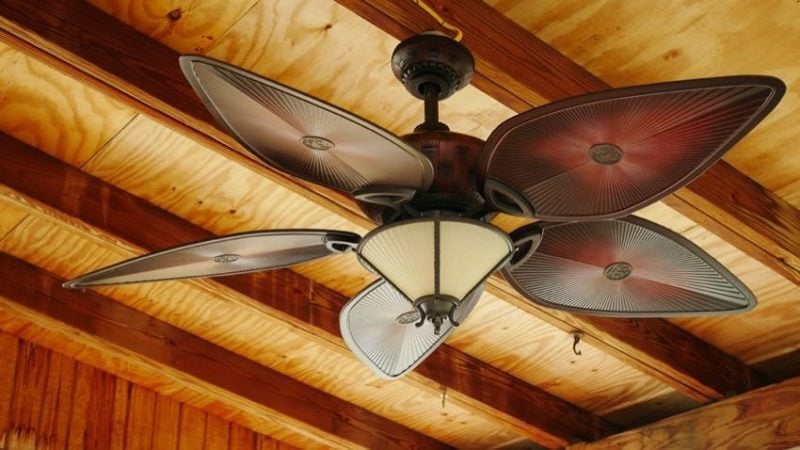
Installing a ceiling fan is almost a rite of passage. Aside from actually deciding which ceiling fan moves the most air, it’s one of the first projects a new homeowner is likely to come across and also one of the simplest do-it-yourself tasks you can undergo. Once you get the hang of it, the project will fly by quickly and you’ll have a good sense of accomplishment as you work your way towards more difficult home projects.
This article will focus primarily on the actual ceiling fan installation. After you have selected the proper fan to fit your room or application, make sure you have all of the tools and parts you’ll need to complete the job.
You also won’t want to forget about buying some light bulbs if your fan comes with a light kit. If you are doing any attic work you’ll also want to add a dust mask to your shopping list and make sure you have adequate light.
Installing a Ceiling Fan
Planning Your Ceiling Fan Installation
There are two basic ways of installing a ceiling fan. You either have a new installation or find yourself installing a replacement. If you are putting in a ceiling fan where there wasn’t one previously, then you are doing the former. The latter typically involves simply removing an old fan and replacing it with a different or updated model. This also holds true for replacing a light fixture with a ceiling fan. We’ll assume a new installation in this article and readers can jump ahead if they are simply replacing an older fan.
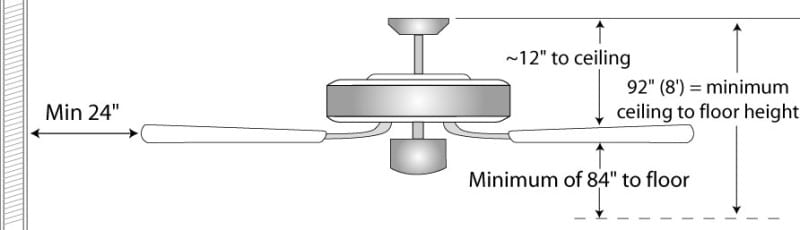
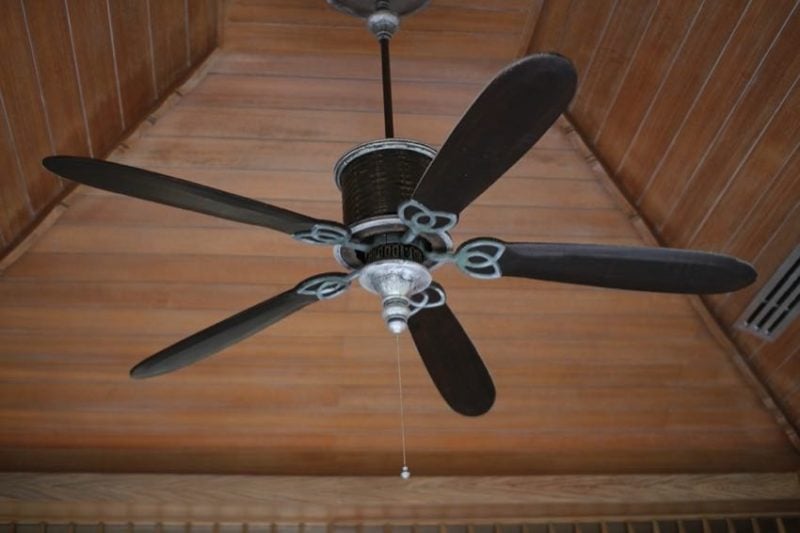
When installing a ceiling fan you need enough space for airflow. Ceiling fans typically require at least 24″ of clearance from nearby walls and they really need 8-foot ceilings (or greater) in order to generate a safe airflow (without danger of chopping off someone’s head!). If you have less than this clearance you’ll want to check with local codes or really make sure you’re not endangering guests with a low-flying blade.
Author’s Note: Codes and Safety Tips
It’s important to follow the local codes in your area. Permits may be required for interior electrical work. When working with electricity, always remember to turn off the power, test the wiring with an electrical tester (or voltmeter) to ensure the power is off, secure the panel box so no one can accidentally re-engage power while you are working, and consult a professional to ensure you are doing things correctly and within the specifications of your state and local codes. Read all the instructions and safety information that comes with your ceiling fan.
Finding the Mounting Position When Installing a Ceiling Fan
When installing a ceiling fan, you must mount it to a metal junction or outlet box. This must be securely attached to the ceiling joist, either directly or via a secure cross brace. The box and whatever is supporting it must be capable of handling a ceiling fan in motion. There are several choices for this, including solutions for new construction and “old work” (existing installations):
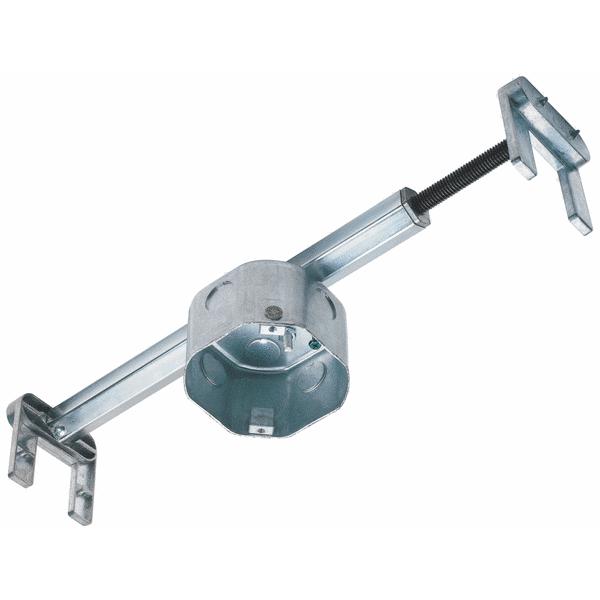
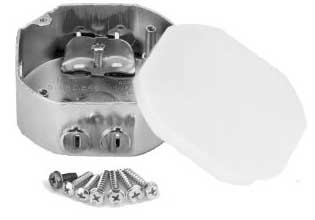
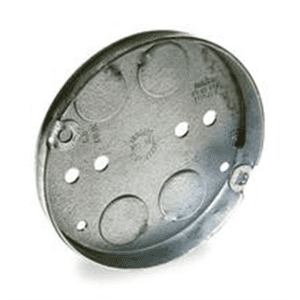
For new construction, you simply attach your choice of fan box to a vertically-positioned 2×4 which braces between two ceiling joists. Conveniently, both thick and thin boxes are available, though you should ensure that all exposed wiring stays within the box and ceiling fan canopy. For existing installations, if you don’t already have an adequate mounting electrical box, you can use an expanding metal ceiling fan hanger bar. Some of these are meant to be inserted from below and expanded once they are positioned between the joists.
Be sure to measure your fan mounting position well if you are doing new construction. There’s nothing worse than mounting a fan and realizing it is off-center after the installation is complete!
Note: For detailed wiring examples and options, please see our article on wiring a ceiling fan, which details several different ways to make the necessary electrical connections in a variety of situations you may encounter.
Attaching the Ceiling Bracket
Remove the Fan Blade Arm Screws
Most of the time, your screws used to attach the fan arms come pre-installed in the fan motor. Remove these screws from the top of the fan motor before you do anything else. You’ll use these later to attach the fan blade arms and you don’t want to have to remove them when the fan is mounted to the ceiling if at all possible.
Attach the Mounting Bracket
Attach the mounting bracket to the ceiling’s electrical box with the included screws. Most modern fans come with some sort of hook or hanger to temporarily hold the fan during installation. Position the mounting bracket so that the hanger points towards the ceiling. It will support the weight of the fan during the wiring process. If you are on a sloped roof, be sure the hook or hanger’s open side faces the high part of the ceiling.
Pull the electrical wires through the hole in the center of the mounting bracket.
Note: For this, we need to assume your ceiling-mounted electrical box already comes ready for a ceiling fan. For new construction, most building codes call these “fan boxes” and they should be all ready to go. For an older home, be sure you understand whether or not that box can support a fan mount. A spinning fan falling out of the ceiling is no laughing matter!
Choose the Installation Height & Install Optional Downrod
You’ll need to decide whether or not to use a downrod when installing a ceiling fan. For sloped ceilings this is mandatory. For all other applications, it depends on the ceiling height. You want to make sure that the fan blades are at least 7-feet off the ground. Beyond that, it’s up to personal preference. If you aren’t using a downrod, skip to the part where you attach the canopy to the ceiling mounting plate.
Run Your Wiring Up Through the Canopy & Downrod
You need to get the wiring from the motor up to the ceiling. To do this, thread the hot (black and blue), neutral (white), and ground (green, if present) wires from the top of the fan motor through both the canopy and the downrod.
Secure the Downrod to the Motor
Insert the downrod into the top of the fan which has a receiving “yoke”. Line up the holes and insert the connector pin, securing it (usually with an included cotter pin). Be careful to not sever or pinch the electrical wiring. You can separate the legs of the cotter pin and bend them over to hold the pin in permanently. Tighten any set screws once the downrod is in place. This will kill any wobble in the rod.
Note: You may need to first remove the canopy before installing the downrod. Some fans come with the canopy pre-attached.
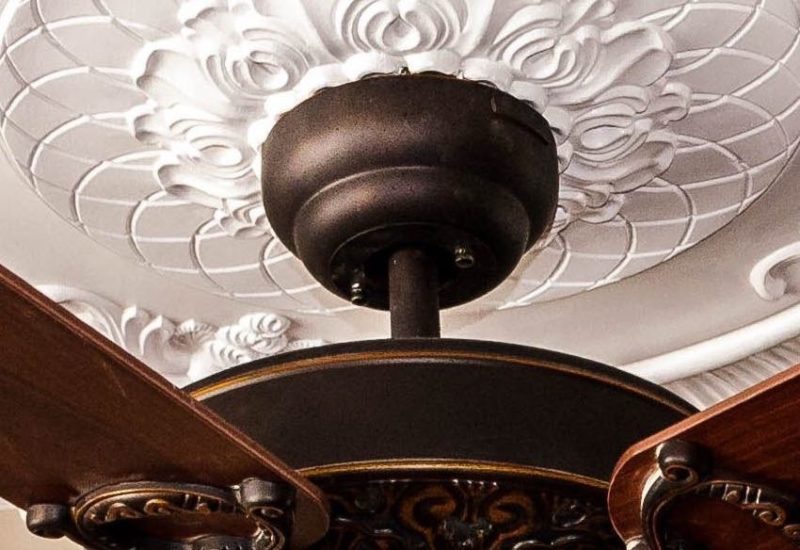
Hanging the Fan with a Downrod
If you chose to use a downrod, install it into the mount with the ball end toward the ceiling. This lets it hang freely. Take care to match up to any channels or grooves that exist in the downrod with the mounting bracket. If you have a vaulted ceiling, for example, the grooves in the ball let the fan angle downward as needed to remain vertical even with a sloped ceiling.
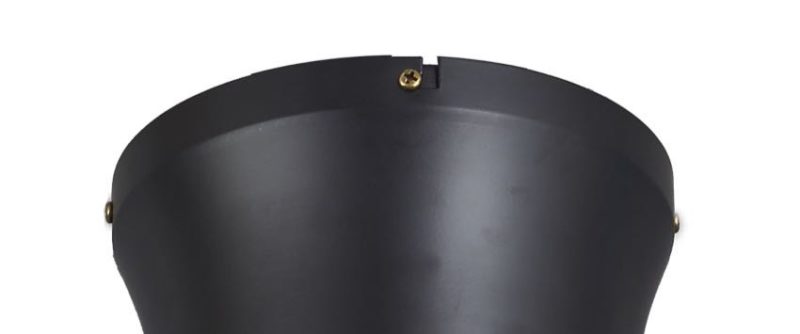
Attach the Canopy to the Ceiling Mounting Plate
Secure the canopy to the mounting plate with the included screws. The canopy should fit over the plate completely and allow the downrod to come out from beneath, providing a nice clean appearance.
Attaching the Fan Blades
The last step in installing a ceiling fan has you attaching the fan blades.
First Attach the Brackets to the Blades
Attach the brackets to each fan blade before you attach the brackets to the ceiling fan. Typically each bracket is attached with 2 or 3 screws and washers. It helps to thread these screws by hand first and then use a manual screwdriver to tighten them all the way.
Recognize that the heads of the screws are on the “top” of the blade—the side you won’t see exposed. Many fan blades are reversible in color, so be sure when the job is completed you have the correct finish pointing “down” from the ceiling.
Attach the Blades to the Fan Motor
Once all the fan blades are assembled, secure each to the fan using the two included screws and washers. Sometimes, it helps to alternate positions so the fan isn’t as off-balance during installation. We also prefer using a standard screwdriver as it’s a tight area and an electric drill or driver could strip out the screws.
That’s all there is to it. Again, please see our Wiring and Connecting a Ceiling Fan article for the specifics and options on getting your electrical connections right.
amzn_assoc_placement = "adunit0"; amzn_assoc_search_bar = "false"; amzn_assoc_tracking_id = "protoorev-20"; amzn_assoc_ad_mode = "manual"; amzn_assoc_ad_type = "smart"; amzn_assoc_marketplace = "amazon"; amzn_assoc_region = "US"; amzn_assoc_title = ""; amzn_assoc_linkid = "b3b85e7f0bcbb5ab56878d899e1efbfb"; amzn_assoc_asins = "B084PZQJCS,B082MNBFNZ,B07MNJ8FWK,B07F6Y6LB4,B07YBRPL4G";
