
So you got (or are getting) a new drill this holiday season. Maybe it’s your first cordless drill or a higher level drill than your dad’s old Black and Decker that has been around for 30 years. As you carefully take it out of the package and silently promise that you’re going to take care of it perfectly, you begin to look at the features. Many will have multiple speed settings. That’s easy enough to understand. Most high-end drills also have this perplexing collar with 20 or more settings that you can twist into. These are your drill clutch settings. Let’s take a look at the significance of this feature and how you can better use it.
Table of contents
How to Use Your Drill Clutch Settings: What Does the Clutch Do?
Most of us are familiar with the way a clutch works on a car. It engages or disengages the drivetrain. Your drill clutch setting works in a very similar fashion. When you pull the trigger, the drill would normally apply all of its available torque (driving force) to the screw. You’re telling the drill how much torque to apply before disengaging the motor.
A little confused by torque? There are two basic ways to rate a drill’s power: speed and torque. Most of understand speed, it’s how fast the drill rotates the bit. The torque is how much muscle it can apply to that speed. Speed is required to drive the screw, but torque is what allows it to keep going when it needs to fight the stopping force of friction.
Why Do I Need a Drill Clutch?
Using your drill’s clutch setting allows you to control the depth of the fastener you’re driving. This is going to come into play a lot in interior work. You’ll want to use low clutch settings when driving a screw into drywall so you don’t go completely through it. Decorative or delicate hardware can be installed so that they are not damaged by overdriving.
Woodworkers that need to drive small screws will find the clutch very attractive if they aren’t hand-tightening them. I used a medium-high setting when helping to install a deck. I wanted the screw to be sunk slightly below the wood surface. Once I dialed in the clutch setting to get the result I wanted, driving the correct depth consistently was easy.

When driving screws into really tough material like pressure-treated lumber and hardwoods, the clutch serves a different purpose. In this setting, it helps prevent damage to the screw head called camout. Camout is when the bit spins in the head and rounds out the bit or the screw head, making it very difficult to drive the screw further or remove it.
There are times when you don’t need to adjust the drill clutch setting from full. Anytime that you are drilling a hole using a drill bit, Forstner bit, or hole saw, the clutch setting should be at the highest level. Some drills will use a drill bit icon while others will just have the largest number at the high torque end.
How Do I Adjust the Clutch for Driving Fasteners?
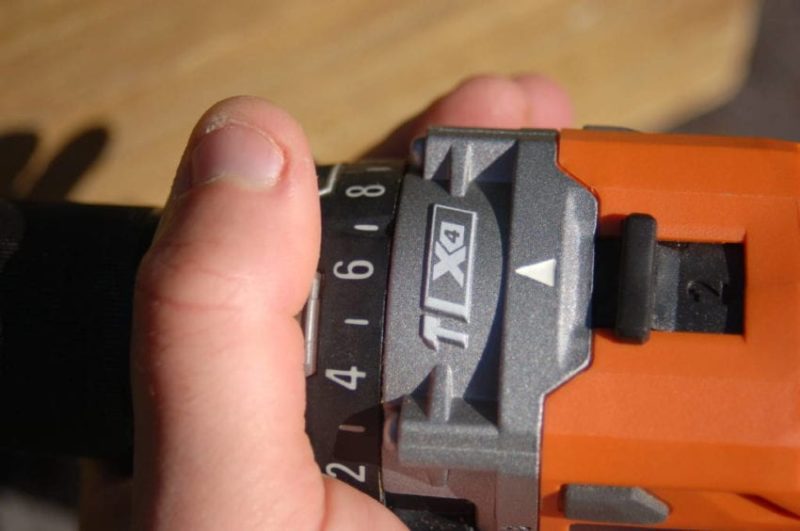
The adjustment itself is very easy. Twist the collar toward the lower numbers for less torque. Twist toward the higher numbers for more. If you’re not accustomed to working with the materials you have for the job, it’s best to start small and work your way up.
Drywall and small diameter screws can be started on the lowest setting. For drilling into wood with larger diameter/length screws, you can start in the middle. If you’re driving lag bolts, you’ll likely want to start at the high end of the scale. It might take some adjustment up or down one setting at a time before you really have it dialed in.
The question you really need to start with is “Will I damage the material/hardware if I drive too far?” If the answer is “yes”, then start with a lower clutch setting than you think you need and adjust your way up as you go. You may have to drive the first couple of screws more than once to get it right, but you’ll save yourself some frustration and the end result will still look great!
Can I Just Leave it on One Setting?
Most people that don’t need or understand how the drill clutch works just leave it the highest torque setting. If you’re not concerned about damage to the material you are fastening or to the fastener itself, then go for it. If you need to make sure that the finished product is neat and clean, you’ll find the drill clutch settings to be extremely helpful!
On the other hand, some people don’t realize that their clutch isn’t set all the way up and mistakenly think that the drill doesn’t have enough power or is broken when they hear the clicking sound indicating that the drive is disengaged.
It’s important to note that drill clutch settings aren’t standardized. Setting 6 on a Ridgid 12V is not the same as other 12V’s and a 10 on a Milwaukee 18V is not the same as other 18V’s. In addition to readjusting your clutch as you change materials and screws, you’ll also need to adjust as you change drills.
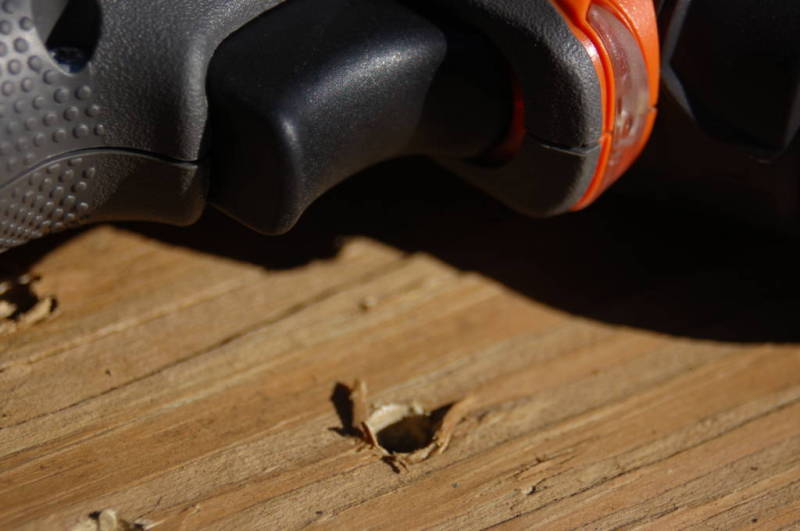
Photos of Various Drill Clutch Settings and Results
At a clutch setting of 1, this 2-1/2″ #8 screw barely gets started into pressure-treated lumber.
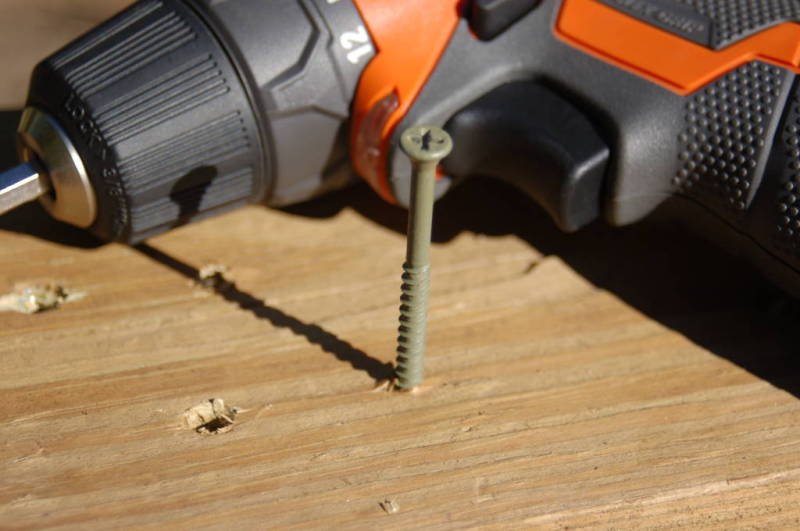
Setting 6 got it to go a little deeper.
13 allowed me to drive it about flush.
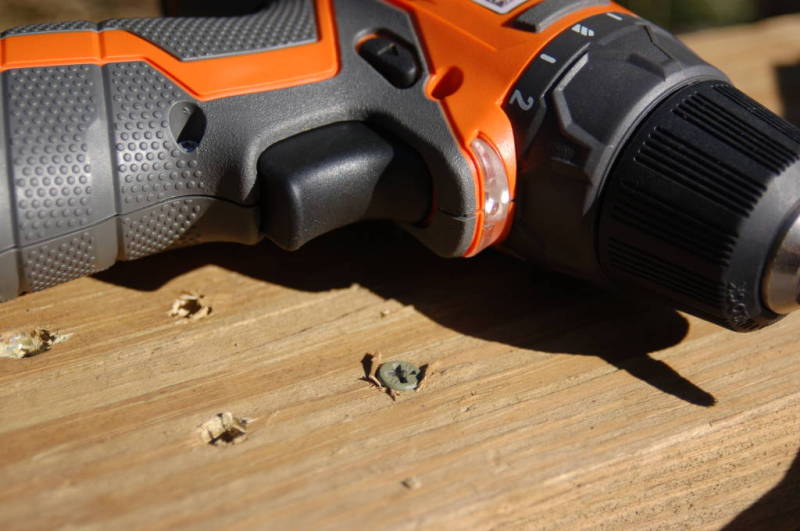
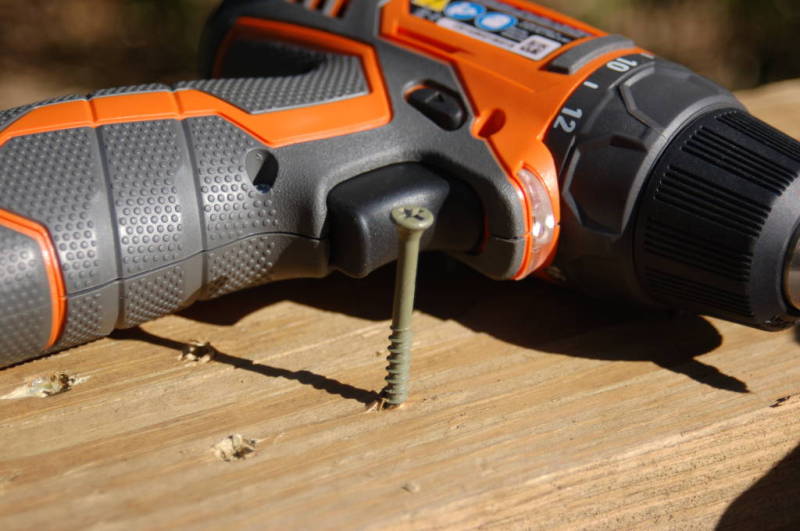
14 gave me the torque necessary to sink the screw below the surface. If I want to consistently drive the screw flush in this material, I’ll leave the clutch set on 13.
Hopefully, that helped explain drill clutch settings as well as how to set the drill clutch for best results. For the latest news, reviews, and previews, be sure to follow Pro Tool Reviews on Twitter and Instagram!
