
Everyone has looked through old pictures and been struck by their own lack of clothing judgment. How did we ever think bell bottoms were cool (or “all flannel, all the time” if you’re a child of the bell-bottomers)? This brings us to popcorn ceilings. They are like the bell-bottoms of ceiling finishes. We may still long for the days where they were in fashion, but they just aren’t “in” anymore. The thought of removing it often brings shudders. Some tradesmen even refuse the work. While some mechanical sanders and scrapers exist to do the job, the process remains incredibly messy. And, of course, it’s extremely time-consuming. We asked our Pros to weigh in on the subject, and there’s a simple method that they use for removing a painted popcorn ceiling.
Table of contents
The Problem with Painted Popcorn Ceilings
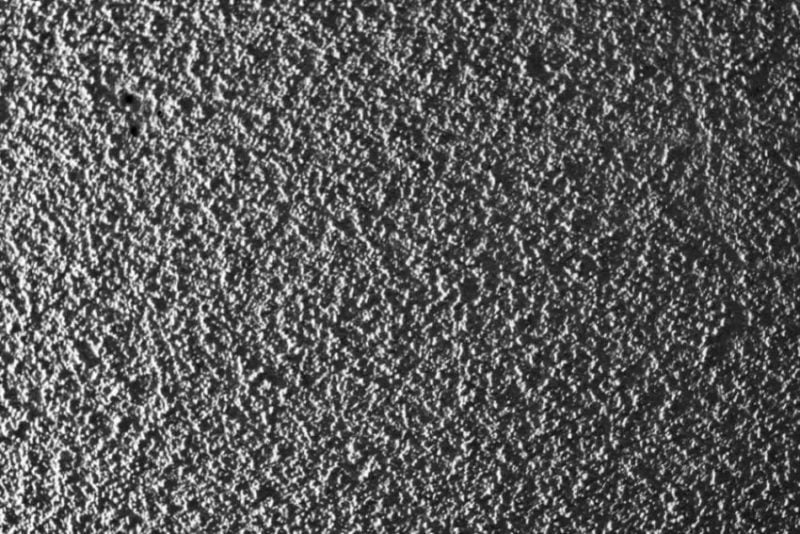
An unpainted popcorn ceiling scrapes off quickly and easily with almost any tool. The only key concerns involve containing the mess and collecting the dust. When removing a painted popcorn ceiling you have more issues. The paint provides better adhesion to the ceiling as it saturates the tiny foam beads used in the spray.
On top of that, this better adhesion results in a tendency to remove part of the underlying drywall. That can not only make a real mess but also damage it sufficiently enough to require replacing sections of the ceiling. That means added costs.
Hopefully, we can avoid all that.
Steps for Removing a Painted Popcorn Ceiling
Preparation for the Work
Almost nothing good happens without preparation. Remember that the next time you attempt any project at work or home…or read an important book. When working on an older home you may want to invest in some asbestos and lead paint test kits before you get started.
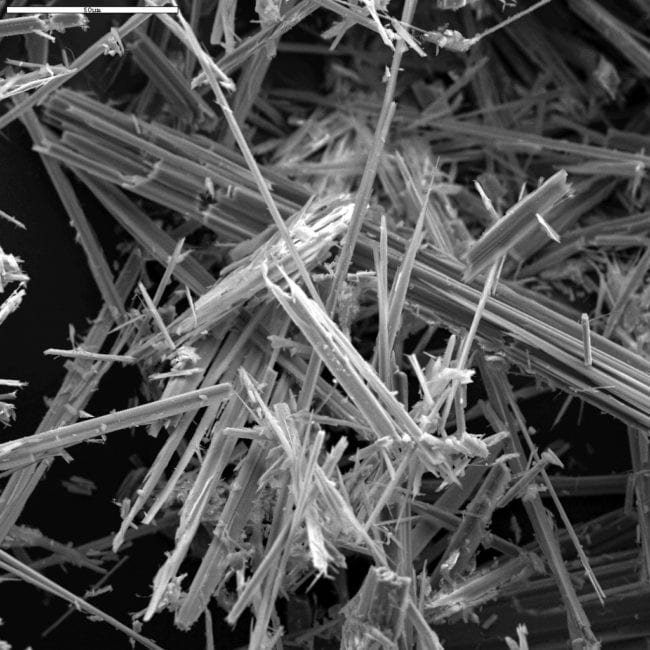
If the house is old enough to have a popcorn ceiling, it may be old enough to have lead paint. If unsure, you’ll want to test it before going any further. You can find asbestos and lead test kits online, and you can usually get the results back in about a week.
Assuming that it’s safe to continue, pick up some plastic sheeting. It might sound extreme, but cover the whole room—walls and all. Consider using drop cloths for the floor as they’re more durable.
Old, wet popcorn can be kind of like the glitter of the renovation world. It’s likely to get everywhere and you’ll be picking it out of your carpet for months. Eliminate that particular frustration by covering everything. Use painter’s tape to hold it in place. If possible, you might consider moving all of the furniture out of the room you’re working on as well.
It’s likely that you’ll have ceiling fixtures of some sort. Ceiling fans will need to be removed. Electrical junction boxes should also be covered up. Since water plays a big role in the upcoming steps, and because electricity and water don’t play well together, you’ll want to keep your circuits dry by wrapping them up as best you can. Obviously, you’re going to want to cut the power to the room you’re working on.
Let’s Get Wet
After you’ve covered the room with plastic wrap, moisten the ceiling one 4 ft. x 4 ft. square at a time. Use a clean backpack sprayer or a clean garden hose with a spray nozzle to wet the popcorn ceiling. Heck, you could even use a clean paint spray gun or even a spray bottle.
Just be sure not to saturate the popcorn as it might soak through the ceiling. Adding some dish soap may improve the results. For heavy popcorn coats, spray twice with a little drying time in between.
Pro Note: You may find that the popcorn texture has the paint mixed in. If you find that the popcorn texture won’t soften up, it’s possible that the popcorn texture was mixed with the paint. In this case, you’ve got a few options. You can dry-scrape the whole ceiling, which will undoubtedly take more time as well as leave a lot of gouging. This might still be the preferable course of action. Or, you can opt to cover the whole thing up with more drywall or some other alternative.
Scraping the Painted Popcorn Ceiling
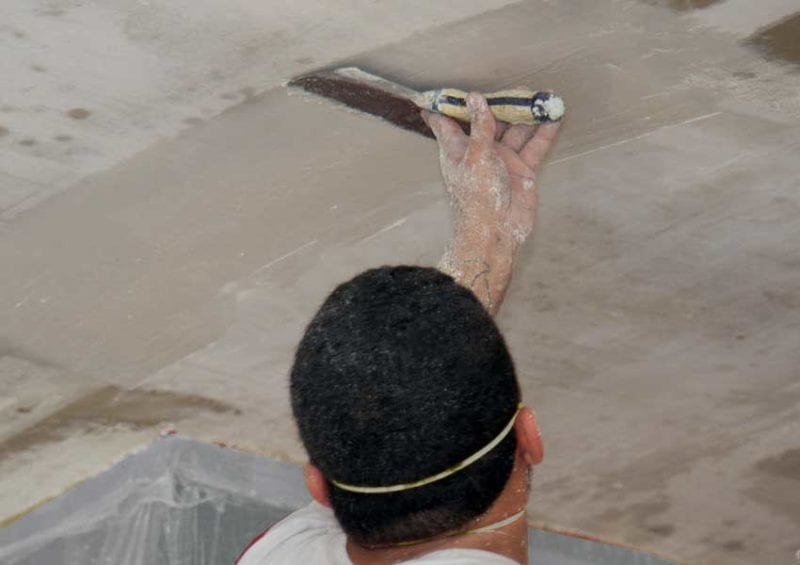
With a putty knife or thin-bladed scraper of some kind, remove the popcorn from the ceiling by scraping. Be gentle with this process. You want to avoid putting any gouges in the ceiling. Undoubtedly, you’ll have some dings and gouges anyway, but you can mitigate some of the damage by using metal scrapers with rounded-off corners.
Pro Note: Don’t have metal scrapers with rounded corners? No big surprise. We made ours using a bench vise and a grinder. You can also use a bench sander.
Incidentally, it should now be pretty easy to see why you covered the walls and floors with plastic. Removing a popcorn ceiling is a messy process. And, while the plastic drop cloth helps contain the mess, you might consider using something to catch the popcorn droppings as you work so that you’re not tracking it around everywhere.
Once the ceiling has been scraped clean, you’ll likely still need to fill any dings and sand it all smooth before painting. You might want to give it a day to dry out before attempting to patch any holes and sand.
What the Pros Might Use
Pros might take a different tack from a scraper when dealing with removing a painted popcorn ceiling. Some might pull out a drywall sander like the Festool Planex or the Makita cordless drywall sander.
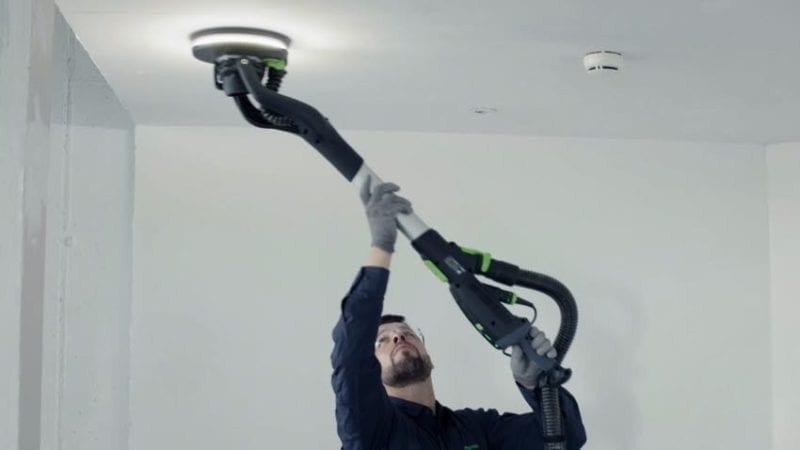
Coupled with a great dust extractor, these sanders make quick work of most popcorn ceilings.
Clean It All Up
While the process of removing a painted popcorn ceiling is messy and time-consuming, you’ll at least enjoy the clean-up process. Roll the fallen popcorn up with plastic, and then chuck it all into the trash bin.
Next, you’ll want to pour yourself a drink, have a seat, and try to put the whole ordeal behind you.
We hope we’ve helped you figure out the best course of action for removing a painted popcorn ceiling. What’s your go-to method for removing a painted popcorn ceiling? Tell us about it in the comments below or hit us up on Facebook, Instagram, or Twitter.
