
Even the best-laid driveways are going to need a little TLC occasionally. If you know how to do the repairing and resealing yourself, you’ll save a bundle on maintenance costs and you’ll be more likely to take care of problems when they arise instead of waiting until they get worse. Here’s how you can begin sealing driveway cracks yourself.
Table of contents
Cleaning Before Sealing Driveway Cracks
Before you begin sealing driveway cracks, you need to remove things. We mean debris, plant life, and rocks—get them out of the cracks before you begin. Otherwise, you’ll end up sealing overtop of loose items and you won’t get the smooth and professional-looking repair you want.
Measuring Before Sealing Driveway Cracks
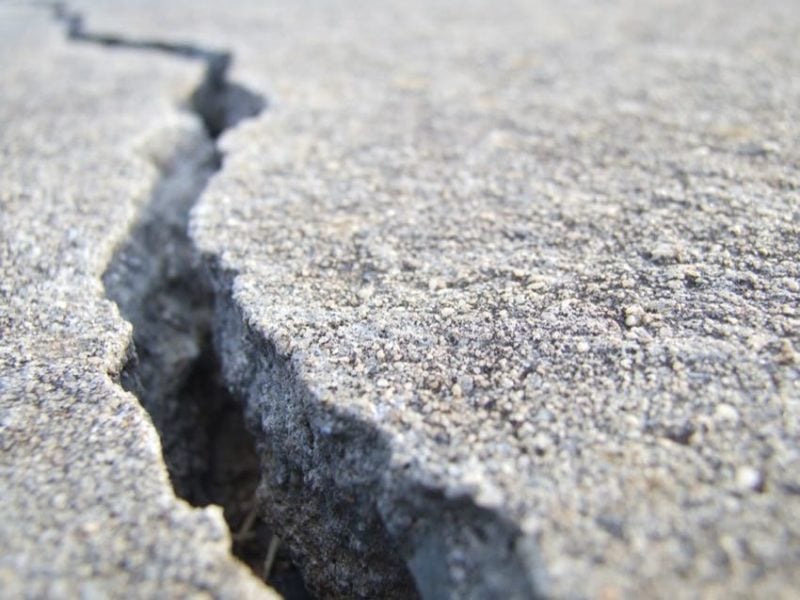
No one product is going to work for sealing all driveway cracks. To decide what you need to use, measure the crack. Small cracks (less than 1/4 inch in width and depth) can be repaired using concrete or asphalt filler. Medium cracks (1/4 to 1/2 inch) should be repaired with patching compound or pre-mixed mortar.
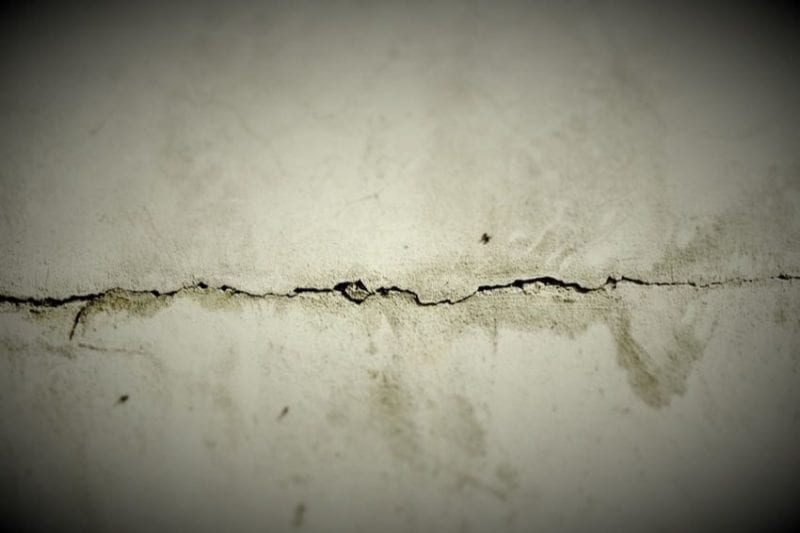
Large cracks (more than 1/2 inch) need to be repaired with pre-mixed concrete or asphalt (the cold patch variety). These are significant repairs and you may find that you’ll need to revisit them over time to ensure they stay sealed.
Completing the Driveway Patch Repair
Once you have the necessary product, you will need to apply it to the driveway appropriately. With small cracks, a small amount of the filler should be dripped into the crack. You can use a putty knife to smooth out the material to make sure it is filled completely. Continue sealing your driveway cracks, adding more as necessary.
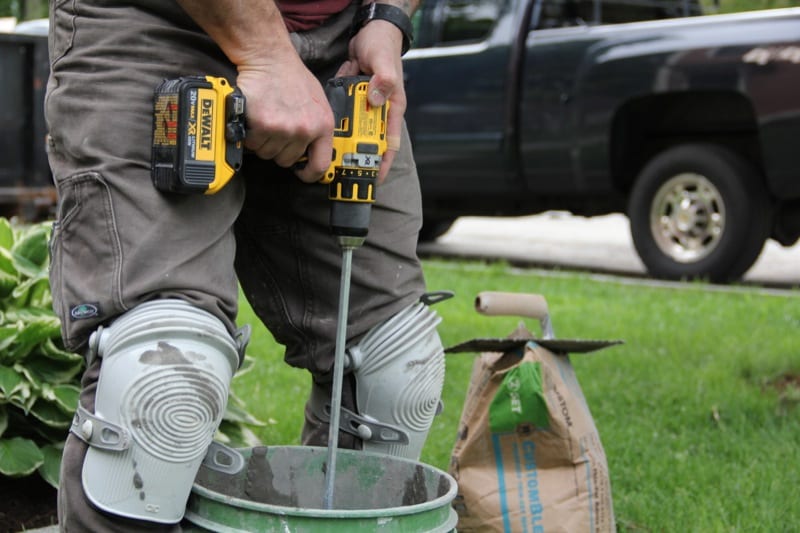
With medium cracks, you’ll need to mix the patching compound or prepare the pre-mixed mortar as directed on the packaging. Pour some into the crack, smooth with a putty knife, and add more until the crack is nicely filled. When sealing large concrete driveway cracks, pour on the material. If your driveway is made of concrete, you don’t want to remove any excess material until you’ve let it sit for at least one hour. If your driveway is made from asphalt, just pour and level the material.
Let the Filled Driveway Cracks Dry
Follow the instructions on the materials you’ve used to learn how long to let the driveway patch set up or dry. You don’t want to take any chances of disrupting the materials before they’ve had a chance to set. Remember warm weather and sunlight will speed up the process of sealing driveway cracks. Moisture and humidity will slow it down.
Applying Driveway Sealant
Just sealing driveway cracks using a pre-made formula isn’t enough. Sealant ensures that your repair is going to hold and keeps moisture and dirt away from the surface of the driveway or concrete surface.
After you’ve let the repairs set, you’ll want to power wash the driveway so it will be a completely clean surface. Again, you’ll need to let it dry completely before moving onto the next step. When it’s completely dry, follow the instructions on the sealant you’ve purchased and pour it into a large bucket (a 5-gallon bucket will usually do the trick). Now dip the roller into the sealant and begin to apply to the driveway. Resist your urge to do any touch-ups until after it dries.
Stay Off the Driveway for a Few Days
Most driveway seals will take several days to dry properly. Make sure you have barricades or some other way of roping off the driveway so no one drives or steps onto the surface before it completely sets and dries.
